You've probably heard that a check-engine light pointing to the EVAP system means the gas cap is the only thing worth checking. Here's what the data actually shows: a loose cap is common, but a failed purge valve, cracked vapor hose, or saturated charcoal canister can produce similar trouble codes. Finding the evap canister purge valve location is the first useful step because the part can sit in a different area depending on the vehicle's engine layout.
The purge valve controls when fuel vapors move from the charcoal canister into the engine to be burned. It is usually an electrically operated solenoid, not a mechanical vacuum valve. Once you identify it, you can inspect its hoses, connector, and sealing behavior before spending money on parts.
What the purge valve does
A gasoline tank produces vapor as fuel warms and sloshes. Rather than releasing those hydrocarbons into the atmosphere, the evaporative emissions system stores them in an activated-carbon canister. When operating conditions are suitable, the engine computer opens the purge valve and allows intake vacuum to draw vapor into the intake stream.
The valve must remain closed during conditions when purging would interfere with starting or fuel control. A valve stuck open can act like an unwanted vacuum leak. That can cause hard starting after refueling, rough idle, hesitation, or a check-engine light. A valve stuck closed can prevent the system from completing its self-test, often setting a code such as P0441 or P0455 depending on the fault and vehicle strategy.
Science Corner: activated carbon does not permanently destroy fuel vapor. Its large internal surface area temporarily adsorbs hydrocarbon molecules. Purge airflow carries those molecules into the engine, where they become part of the normal combustion mixture. That is why the valve's flow control matters more than its simple appearance.
Where the EVAP purge valve is usually located
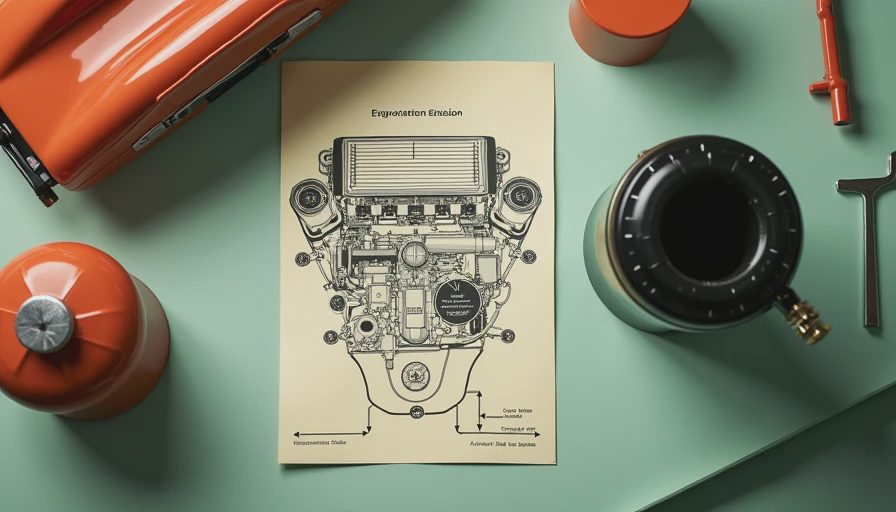
On many modern vehicles, the evap canister purge valve location is under the hood near the intake manifold, throttle body, or air-intake tubing. Look for a small plastic or metal solenoid with two vapor ports and a two-wire electrical connector. One hose generally leads toward the engine intake, while the other routes toward the charcoal canister or a vapor line running under the vehicle.
Some manufacturers place the valve close to the firewall, below the intake manifold, or beside the air filter housing. On certain trucks and transverse-mounted engines, it may be mounted near the front of the engine bay or attached to a bracket below the intake tube. The charcoal canister itself is often near the fuel tank, so do not confuse that larger box with the purge solenoid.
Your owner's manual, service manual, or a model-specific parts diagram can confirm the evap canister purge valve location. Use the vehicle identification number when searching a parts catalog because the same model name can have different engines, emissions equipment, and valve designs.
How to find the valve without guessing
Start with the engine cold and the ignition off. Trace the smaller EVAP hoses from the intake manifold or throttle body. Follow them toward a solenoid with an electrical connector. Do not rely on color alone; hose colors and connector shapes vary by manufacturer.
A helpful clue is labeling. Many valves have an arrow showing flow direction, while others include molded markings such as “purge,” “EVAP,” or a part number. Compare the suspected valve with the replacement listing before disconnecting anything. Photograph the hose routing and connector orientation, since reversing the lines can create a new diagnostic problem after installation.
Do not pull hard on brittle plastic vapor lines. The quick-connect fittings can crack after years of heat exposure, and a broken fitting can turn a simple inspection into a larger repair. Use safety glasses, keep sparks away from the vehicle, and never smoke while working around fuel vapor components.
If you still cannot find the part, search the service information for “purge control valve” rather than only “canister purge valve.” Manufacturers use several names for the same general component. The evap canister purge valve location is normally in the engine compartment, but packaging exceptions are real.
Testing the valve and its circuit
A visual inspection comes first. Look for split hoses, oil contamination around the ports, a loose connector, green corrosion on terminals, or a damaged mounting bracket. A valve that clicks is not automatically good; the internal pintle can click while leaking or failing to flow correctly.
With the valve removed and disconnected, many purge solenoids should remain closed when no power is applied. Applying the correct battery voltage briefly should produce an audible click and allow airflow through the valve. Use the service manual for the exact test because some designs operate differently, and never send voltage through a component if its rating is unknown. A digital multimeter can check coil resistance, but a resistance reading within range does not prove that the valve seals under vacuum.
A hand vacuum pump provides a more meaningful test on compatible designs. With no electrical command, the valve should generally hold vacuum rather than bleed down immediately. If it leaks, the engine may receive vapor or outside air at the wrong time. A scan tool with active-test capability can command the valve while you monitor fuel trims, engine speed, or EVAP pressure data, but this is more useful after basic hose and wiring checks.

Symptoms that point toward a purge problem
A hard start immediately after filling the tank is a classic clue, especially when the engine cranks normally but takes several seconds to run. Rough idle, an unexplained lean fuel-trim condition, stalling after refueling, and recurring EVAP codes are also worth investigating. However, these symptoms do not prove the valve is defective.
A cracked intake hose, leaking fuel cap seal, blocked vent valve, damaged canister, or wiring fault can create overlapping symptoms. For that reason, replacing the first inexpensive valve you see is not always the cheapest diagnosis. A smoke test can reveal vapor leaks that are too small to find by sight, while scan-tool data can show whether the computer is actually commanding purge.
If the check-engine light is flashing, the vehicle is running very poorly, or you smell raw fuel, stop treating the issue as a minor emissions nuisance. Fuel vapor is flammable, and a severe drivability problem deserves prompt attention.
Replacing the valve intelligently
Once testing confirms the solenoid is leaking, stuck, or electrically open, replacement is usually straightforward. Record the hose positions, disconnect the battery only if the service procedure calls for it, and install the replacement in the same flow direction. Avoid forcing a hose onto a mismatched port. A valve that looks similar can have different flow characteristics or connector wiring.
After installation, clear the code only after recording freeze-frame information. Then drive through the vehicle's normal conditions so the EVAP monitor can run. The monitor may require a particular fuel level, cold soak, steady-speed cruise, and several hours of key-off time. Clearing a code does not repair a leak; it only resets the stored information and readiness status.
Read the spec, not the bottle applies to car parts as well as motor oil: read the service information, part number, connector, and flow direction rather than trusting a generic listing. If you remember one number from this post, make it this one: verify the exact evap canister purge valve location for your engine before removing anything. That five-minute check can prevent broken vapor lines, wrong-part returns, and an unnecessary repair bill.





No letters yet — pray write the first.