You've probably heard that every front-end clunk means a bad ball joint. Here's what the data actually shows: sway bar links are frequent, relatively inexpensive sources of knocking, but the noise alone does not prove they have failed. Learning how to check sway bar links lets you separate a worn connection from tire, strut, control-arm, or steering problems before buying parts.
A sway bar, also called an anti-roll bar, connects the left and right sides of a suspension. It resists body roll when the vehicle turns. Short sway bar links connect the bar to the strut or control arm, using ball-and-socket joints, bushings, or both. They work through constant movement, road splash, and changing loads, so their rubber boots and joint sockets deserve a careful inspection.
What a Bad Sway Bar Link Usually Feels Like
A worn link commonly produces a sharp metallic clunk over small bumps, broken pavement, or driveway transitions. The noise can be more obvious at low speed than on the highway because slow suspension movement gives a loose joint time to tap against its socket. Some drivers also notice a vague feeling during quick lane changes, although sway bar links are not normally the sole cause of steering looseness.
A torn dust boot is another clue. The boot keeps water and grit away from the joint grease. Once it splits, contamination can accelerate wear, but a torn boot does not always mean the link is already loose. Conversely, a link can be worn internally while the boot still looks acceptable. That is why visual inspection and a mechanical test belong together.
Do not confuse a bad link with normal sway-bar bushing movement. The large rubber bushings that hold the bar to the vehicle can also squeak or knock. A technician should inspect the entire assembly, especially if both sides make noise or the sound comes from the center of the axle rather than one wheel.
How to Check Sway Bar Links Safely at Home
Start on level, solid ground. Set the parking brake, place the transmission in Park or in first gear, and chock the wheels that remain on the ground. A floor jack can lift the vehicle, but jack stands must support it before you work underneath. Never rely on the jack alone. Wear eye protection because rust, dirt, and flaking undercoating can fall without warning.
Read the owner’s manual for the manufacturer’s lifting points. On many vehicles, you can inspect one front corner at a time, but a suspension hanging unevenly can preload the sway bar and make a link difficult to assess. If access permits, lifting both ends of the same axle keeps the bar closer to its neutral position. Keep your hands clear of pinch points and never start the engine during this inspection.
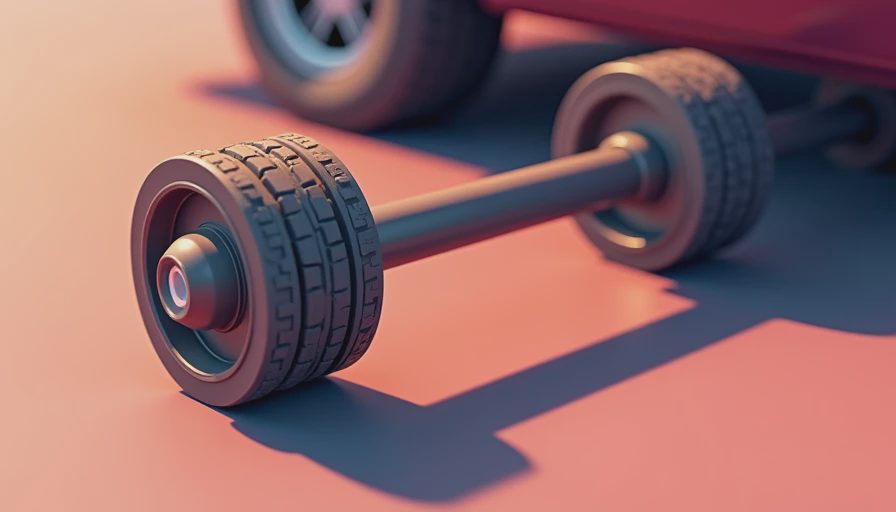
With the wheel removed, locate the thin vertical or angled link between the sway bar and the strut or control arm. Look for a split boot, missing boot, bent rod, damaged threads, shiny impact marks, or rust around the joint. Compare the left and right sides. An obvious difference in angle or hardware condition often points to the problem.
Hands-On Tests That Reveal Wear
The most useful check is a controlled movement test. Hold the link firmly and try to move it by hand. A healthy link generally feels solid, though its ball joint may pivot smoothly through its designed range. It should not produce a distinct click or clunk. If you can feel a dead spot, knock, or free play at the socket, the joint is suspect.
You can also place a pry bar carefully against a solid suspension component and apply light pressure near the link, but do not pry against the boot or thin sheet metal. The goal is not to force the suspension apart. You are looking for movement at the joint that should not exist. Have a helper rock the vehicle gently while you watch the connection, but keep clear of the tire and pinch areas.
Learning how to check sway bar links is easier when you compare sound with movement. A noise with no visible or tactile play may come from a bushing, brake hardware, strut mount, or loose shield. Play with a matching clunk strongly supports link failure. If the vehicle has electronic or adaptive suspension, avoid disturbing wiring and follow the service procedure for that model.
Science Corner: the link does not carry the vehicle's weight like a control arm. It transfers twisting force from the sway bar into the suspension. That explains why a worn link can knock loudly without creating the dramatic wheel movement associated with a severely worn ball joint.
A Simple Comparison Before You Buy Parts
A torn boot with no play deserves a closer decision. If the boot is freshly split and the joint is still tight, some owners replace the link because contamination has already begun, while others monitor it briefly. A loose joint, bent link, or missing hardware is a stronger replacement case. Do not inject grease through a boot with a random needle; puncturing it creates another path for water and dirt.
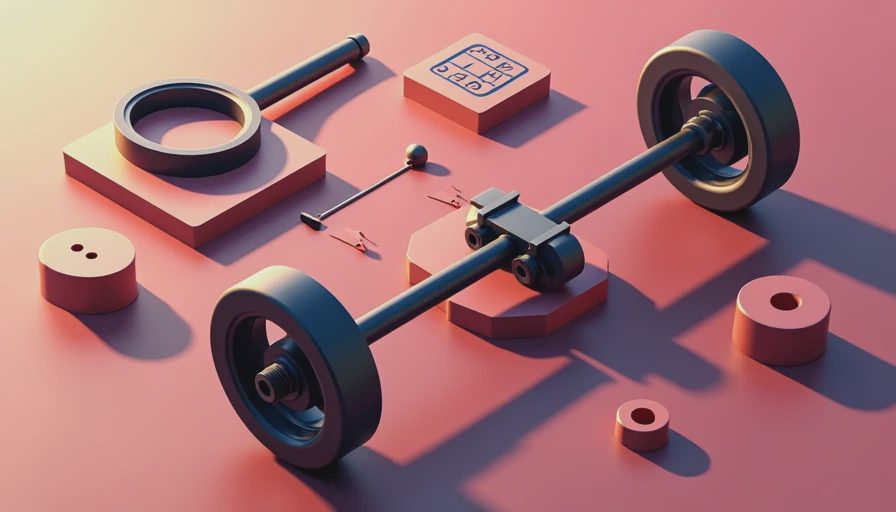
Check whether your vehicle uses a fixed-length link or an adjustable aftermarket design. The replacement must match the original geometry unless a suspension modification specifically calls for a different length. Compare thread size, stud orientation, spacer arrangement, and supplied nuts. Some links use prevailing-torque locknuts that should not be reused. The torque specification comes from the service manual, not from guesswork or the old nut’s position.
When price shopping, the cheapest part is not automatically the best value. A basic link may cost about $20 to $60, while premium or specialized applications can cost more. Labor often adds roughly $100 to $300 depending on access and regional shop rates. A proper comparison considers corrosion resistance, boot quality, warranty, and whether the kit includes new locking hardware. Read the specification, not just the package claim.
Replacing and Rechecking the Connection
Rust can make removal harder than diagnosis. Apply penetrating fluid to exposed threads, use the correct wrench sizes, and hold the stud with its hex or internal fitting if it spins. Heat requires caution around rubber, brake lines, fuel components, and wiring. If the nut will not move, a shop may finish the job more safely than forcing a rounded fastener.
Install the new link in the same orientation as the old one. Tighten fasteners to the specified torque, preferably at the vehicle’s normal ride height when the design requires it. Reinstall the wheel, torque the lug nuts correctly, and lower the vehicle before the final check. A short road test over the same type of bump that caused the complaint should tell you whether the clunk has disappeared.
If you are still learning how to check sway bar links, remember that replacing one noisy part does not guarantee every front-end noise will vanish. If the sound remains, inspect sway-bar bushings, strut mounts, tie-rod ends, ball joints, control-arm bushings, brake calipers, and loose underbody shields. Alignment is not normally required after a straightforward link replacement, but it is sensible after work that changes steering or control-arm geometry.
When to Stop the DIY Inspection
Stop and seek professional help if the vehicle cannot be supported securely, the suspension is heavily rusted, a joint is visibly separating, or steering control feels unsafe. A wheel that shifts when rocked at the 12-and-6 or 3-and-9 positions can indicate other faults requiring immediate attention. Do not diagnose solely by sound when the vehicle pulls, wanders, vibrates, or wears tires unevenly.
The practical value of how to check sway bar links is knowing what evidence matters: a damaged boot is a clue, measurable free play is stronger evidence, and a matching road-test noise completes the picture. Take photographs before disassembly, record the original hardware arrangement, and use the service manual’s torque values. That method saves money without pretending every suspension problem is the same.




No letters yet — pray write the first.