You've probably heard that an engine sludge clean is a risky move. A few minutes of solvent in your crankcase, and you might dislodge years of accumulated varnish in big chunks, then watch your oil pressure light flicker as the pickup screen clogs. Here's what the data actually shows: sludge is not one single substance, and not all cleaning methods are equal. The chemistry of the detergents and the condition of your engine matter more than the marketing on the bottle.
Sludge forms when oil oxidizes, when short trips never let the crankcase reach operating temperature, or when a previous owner neglected oil changes for absurd intervals. The result is a mixture of carbon particles, oxidized base oil, water emulsions, and polymerized additives that can coat the inside of your valve cover and clog oil control rings. If you leave it alone, it gets harder and more varnish-like.
What Engine Sludge Actually Is
Sludge is not a single compound. In laboratory analysis, you'll find different layers: soft black "cold sludge" that's mostly water-in-oil emulsion from condensation, and hard "hot sludge" or varnish that forms when the oil cooks onto metal surfaces at high temperatures. An engine sludge clean product has to handle both.
Science Corner: The detergents in oil are mostly overbased calcium or magnesium sulfonates. They work by neutralizing acids and keeping carbon particles suspended. When the additive package is depleted, those particles fall out and start depositing. That's why the API SN and SP categories tightened limits on piston ring sticking and sludge formation. Read the spec, not the bottle.
The deposit that concerns us most is the one on the oil pickup tube screen. A severe sludge pack can restrict oil flow at idle, causing low oil pressure and eventually spun bearings. That's why an engine sludge clean is best done as a preventive measure when deposits are moderate, rather than as a rescue of an already failing engine.

The Chemistry That Breaks Sludge Down
You've probably heard about chemical flush products, but here's how they actually work. Most off-the-shelf engine flush additives consist of high-solvency carrier fluids—aromatic naphtha or similar—plus extra detergent and dispersant. They raise the detergency of the oil for a short idling period, helping to break down soft sludge. For heavy varnish, you may need a stronger solvent like a high TBN (total base number) oil or a dedicated cleaning product designed to be used before an oil change.
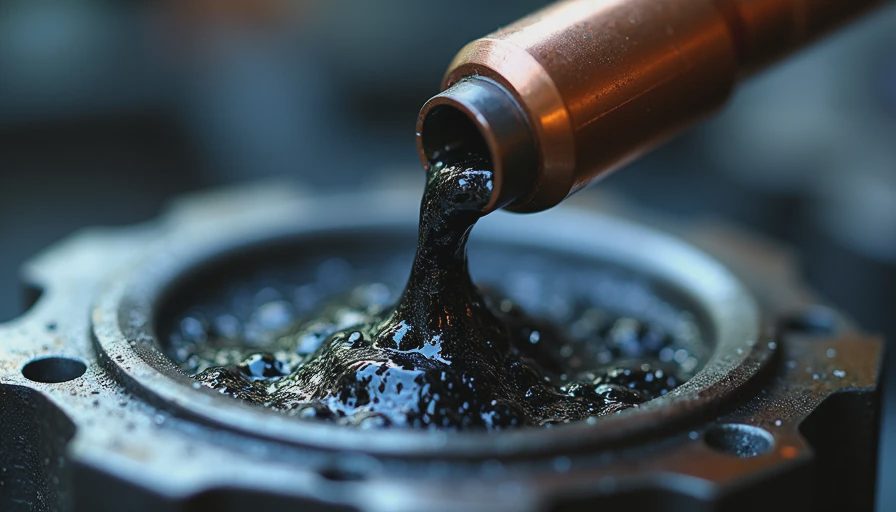
An engine sludge clean works by suspending deposits in the oil before you drain it. The key is to follow the product instructions: run the engine at idle for the specified time, usually 5 to 15 minutes, then drain the oil while it's warm. That way, the dissolved and suspended contaminants leave with the old oil instead of circulating in the new fill.
But here's the data that surprises most DIYers: an engine sludge clean with a cheap additive is not a substitute for shortening your oil change interval. If you have an engine with severe sludge, sometimes the best course is simply to change the oil and filter more frequently for two or three cycles, letting the fresh detergent package work at normal levels. That approach is far less risky than a heavy solvent flush.
The Right Way to Approach an Engine Sludge Clean
If you decide to perform an engine sludge clean, pick a product with a known API approval rather than an unlabeled bottle. The additive package matters, and the concentration of solvents matters even more. Some products contain just enough detergent to help, while others are aggressively strong and can damage seals or cause viscosity loss. If you remember one number from this post, make it this one: always fill with fresh, high-quality oil immediately after a flush, and do not run the engine more than the product specifies.
A step-by-step engine sludge clean procedure that I've used in the shop looks like this:
- Warm the engine to operating temperature, then shut it off.
- Add the correct amount of flush product per the instructions.
- Idle for the specified time, typically 5 to 15 minutes. Do not rev it hard.
- Drain the oil while it's still warm and let it drain fully.
- Replace the oil filter, then fill with the correct API-rated oil for your engine.
- Consider a shorter than usual oil change interval after the flush, maybe half the normal distance, to confirm the new oil stays clean.
That sequence works because the warm oil thins and carries suspended sludge out. Cold flushes are less effective.
When an Engine Sludge Clean Is a Bad Idea
A flush is not a rescue tool. If the oil pressure light flickers at idle or the engine burns oil with heavy varnish on the dipstick, a sudden solvent flush can loosen a large deposit that then blocks the oil pickup screen, turning a drivable engine into a towable one. In those cases, a safer approach is a series of short-interval oil changes using the manufacturer's recommended viscosity and a detergent-rich oil. Over two or three changes, the sludge gradually disperses.
Also be careful with high-mileage engines that have never been flushed. Seals are often held together by deposits, and an aggressive solvent clean can cause a rear main seal leak overnight. That's not a myth; I've seen it happen in the lab. So if the engine has 200,000 miles and no service history, err on the side of shorter oil changes rather than a chemistry experiment.
The Bottom Line
Sludge is a chemical problem with a chemical answer. A one-time flush can help if deposits are moderate, but the real cure is a proper oil change schedule using a modern API-rated oil. An engine that's maintained won't need an engine sludge clean in the first place. Choose your products by spec sheet data, not marketing, and your engine will thank you at 150,000 miles.




No letters yet — pray write the first.