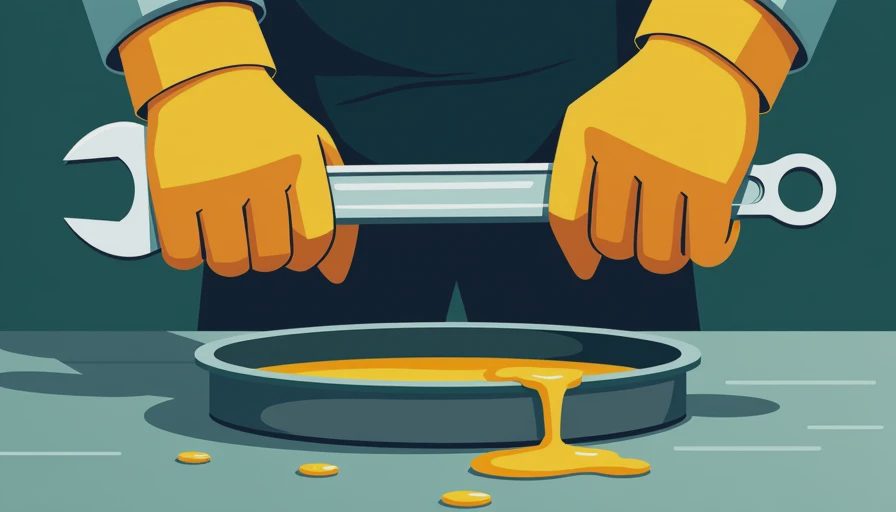
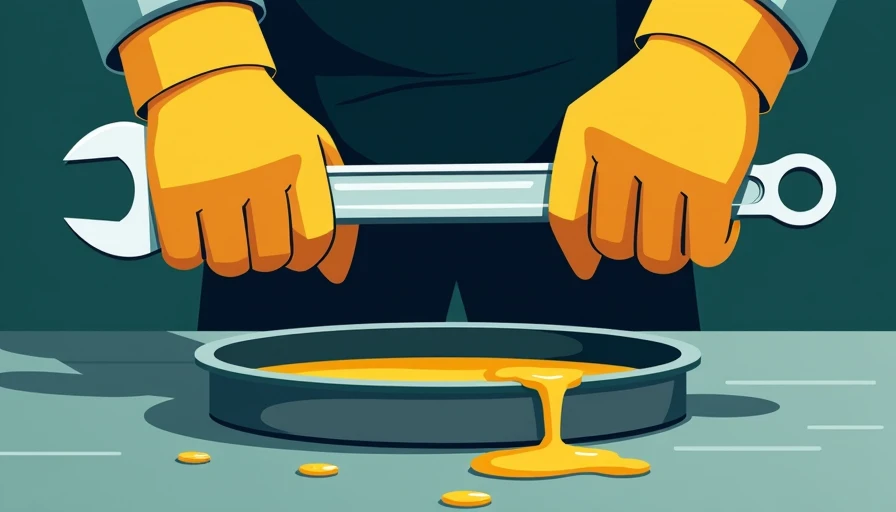
You've probably heard that a bottle of stop-leak additive is all you need to fix an oil leak. Here's what the data actually shows: while some additives can temporarily swell aged seals, they're not a cure-all. Learning how to fix oil leak properly starts with understanding where it's coming from and why. As a lubricant formulator, I've seen too many people dump sealing chemicals into their engine only to end up with a clogged oil passage. This guide will walk you through the diagnostic steps, the chemistry behind seal degradation, and the permanent repair options—so you can choose the right fix the first time.
Finding the Source of the Leak
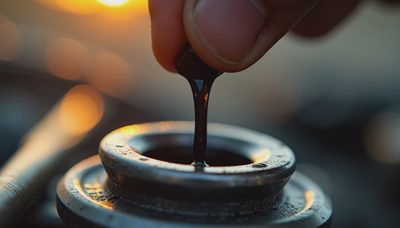
Before you can fix an oil leak, you need to locate it. Common leak points include the valve cover gasket, oil pan gasket, rear main seal, front crankshaft seal, and oil filter housing. Start by cleaning the engine bay with a degreaser and drying it thoroughly. Then run the engine for a few minutes and inspect with a flashlight. Look for wet spots, drips, or trails of oil. If the leak is small, you can use a UV dye—add it to the oil, run the engine, and scan with a UV light. This is especially helpful for pinpointing seepage from the rear main seal or camshaft plugs.
A common mistake is to assume a puddle on the ground equals a single leak. Oil can travel along engine components, dripping far from the actual source. For example, a leaking valve cover gasket can run down the back of the engine and look like a rear main seal leak. Always verify by checking the highest wet point. If you drive a high-mileage vehicle, expect multiple leaks—older engines often have several hardened gaskets.
Science Corner: What Makes Seals Leak?
Engine seals—whether rubber, silicone, or cork—depend on a balance of pressure, temperature, and oil chemistry. Over time, heat cycles cause elastomers to harden and shrink. Synthetic base oils can also extract plasticizers from seals, accelerating leakage. That's why some high-mileage oils include seal conditioners that re-swell the rubber. But these conditioners only work if the seal hasn't cracked or torn. If you see pitting or charring on the seal surface, no additive will help. The permanent solution is replacement.
If you remember one number from this post, make it this one: most oil leaks are caused by seals that have lost less than 10% of their original volume. A 10% volume loss is enough to create a drip path. To know how to fix oil leak for your specific vehicle, check the seal material. OEM often uses fluoroelastomer (Viton) for high-temperature areas; aftermarket seals should match that spec.
When Stop-Leak Additives Actually Work (and When They Don't)
Additives designed to stop oil leaks typically contain swelling agents like high-molecular-weight polymers or ester-based seal conditioners. They can temporarily soften and expand dried-out seals, reducing drips for a few thousand miles. This is a valid approach if you're planning to sell the car soon or need a band-aid before a major service. However, for a long-term how to fix oil leak, additives are not a substitute for replacement. They can also over-swell seals, causing them to protrude and wear faster. In some cases, they clog oil control rings or small passages, leading to sludge.
My rule: if the leak is a slow seep (a few drops per day) and the seal is not brittle, a high-quality stop-leak additive (look for one with a high ester content) can buy you time. But if you're losing a quart every 300 miles, that's not a seep—it's a leak. Replace the seal. Also, never use stop-leak in engines with hydraulic timing chain tensioners; the additives can gum up the pilot valve.

The Permanent Fix: Replacing Gaskets and Seals
If you want to know how to fix oil leak permanently, you have to replace the failing component. For valve cover gaskets, this is a straightforward DIY job on many engines—remove the cover, clean the mating surfaces, apply a thin bead of RTV in the corners (if specified), and install a new gasket. For oil pan gaskets, you may need to lift the engine slightly or lower the subframe. Rear main seals are more involved, often requiring transmission removal. Always use the correct torque sequence and spec; overtightening can distort the part and cause another leak.
When selecting replacement parts, read the spec, not the bottle. OEM parts are often superior in material quality. If going aftermarket, choose a gasket made from rubberized cork or multi-layer steel for durability. Avoid cheap paper gaskets for critical sealing surfaces. And always replace the hardware (bolts, washers) if recommended—stretched bolts can reduce clamping force over time.
When to Call a Mechanic
Some leaks are beyond a home garage fix. Internal leaks, such as a failing head gasket, require engine disassembly and specialized tools. Similarly, if your engine has a timing cover leak that requires removing the timing chain, a professional shop is safest. The cost of sealing a rear main seal is typically $800–$1,500 parts and labor, depending on your vehicle. Compare that to the cost of constantly adding oil—if you use 1 quart per month at $8, that's $96 per year. Sometimes it's cheaper to top off and monitor. But if the leak is leaving puddles in your driveway or causing oil to spray onto hot exhaust parts, it's a safety issue. Address it immediately.
Conclusion: Know When to Seal and When to Replace
Learning how to fix oil leak involves understanding the root cause. For minor seepage from aging seals, a quality additive can be a temporary patch. For active drips, replacement is the only reliable solution. No additive can restore a cracked seal. Read your owner's manual, check the API spec for seal compatibility, and don't rely on quick fixes for critical seals. Your engine's health depends on maintaining proper oil level and pressure. If you remember one thing from this post: diagnose first, then decide.


No letters yet — pray write the first.