Save Your Engine From Wear: The Right Way to DIY Your Oil Change
You've probably heard that any oil change is better than none. Here's what the data actually shows: using the wrong fluid or stripping a drain plug can cost you far more than skipping the service entirely. I'm Marcus Webb, and I've spent fifteen years formulating lubricants in the lab. Today, I'm bringing that chemistry into your garage. Changing your oil isn't just about swapping liquid; it's about preserving the molecular integrity of your engine's moving parts. Doing it right prevents a $4,000 rebuild down the road.
Why This Matters
Performing a DIY oil change is one of the most essential and straightforward tasks you can do to maintain your vehicle. It saves money, but more importantly, it ensures your car runs smoothly by keeping the engine lubricated and preventing wear. When you understand the specs, you stop guessing and start protecting your investment. Many folks think pouring any brown liquid into the crankcase is enough. It isn't. The difference between a healthy engine and a seized one often comes down to the additive package in the bottle and the quality of the filter catching the metal shavings.
What You Need to Know
Before you crawl under the car, you need to understand the language on the bottle. Motor oil is classified by the American Petroleum Institute (API) by a service rating. Over the years, oil refiners have made major improvements to motor oil, and using the most up-to-date oil is critical to the safe operation of your vehicle.
Science Corner: All API ratings for motor oil for gasoline engines start with the letter "S". The very first classification was SA, designed for engines made in the 1920s. The latest API classifications are SP, and it's backward compatible with earlier engine oil recommendations. This means SP oil protects older engines too, thanks to advanced anti-wear additives.
Oil is also classified by the International Lubricants Standardization and Approval Committee (ILSAC). ILSAC is a collaboration between the American Automobile Manufacturers Association (AAMA), Chrysler, Ford, GM, and the Japanese Automotive Standards Organization. ILSAC GF-6 engine oil specifications target fuel economy, emission system protection, and enhanced engine oil robustness. Always buy the most current oil and the recommended viscosity oil for your vehicle.
When it comes to oil filters, it's best to stick with a name brand. Industry standards often cite Wix, Fram, Bosch, Pureolator, ACDelco, Denso, Beck-Arnley, and Mahle/Clevite. If you're using synthetic oil, make sure you buy a premium grade filter to get maximum protection.
How It Works
Preparation prevents spills and stripped bolts. First, lay large pieces of cardboard under the drain pan. I learned this oil change tip the hard way. No matter how careful you are, the oil is going to splash as it hits your drain pan. It's a lot easier to fold up a scrap piece of cardboard than it is to mop up oil spills on your driveway.
Pro Tip: Warm the engine for 5 minutes first. Cold fluid doesn't drain fully, and warm oil flows faster, carrying more contaminants out with it.
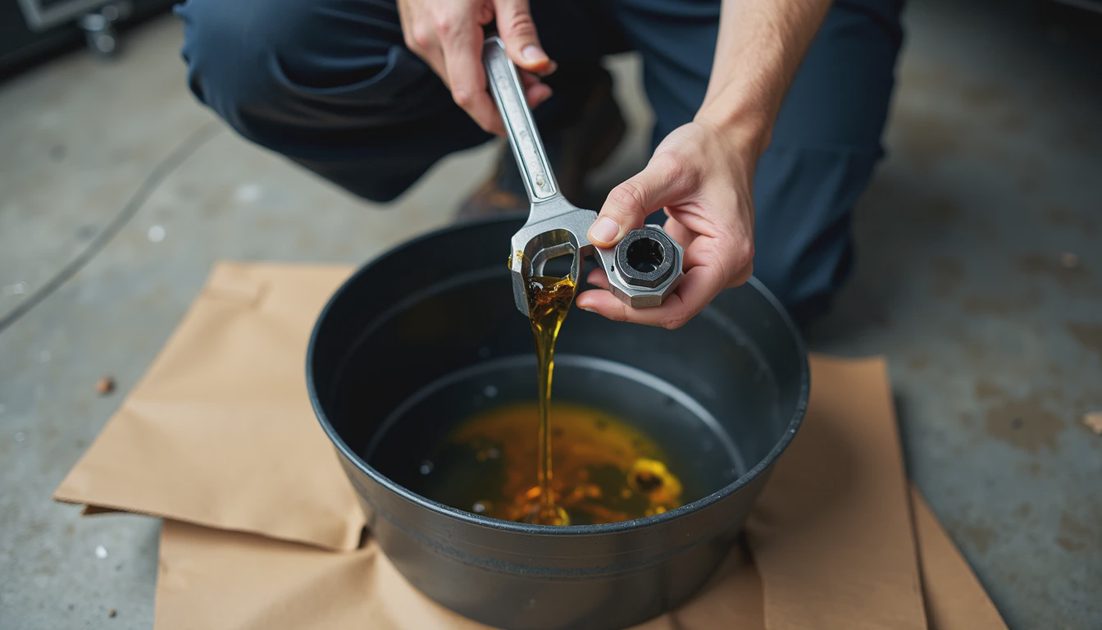
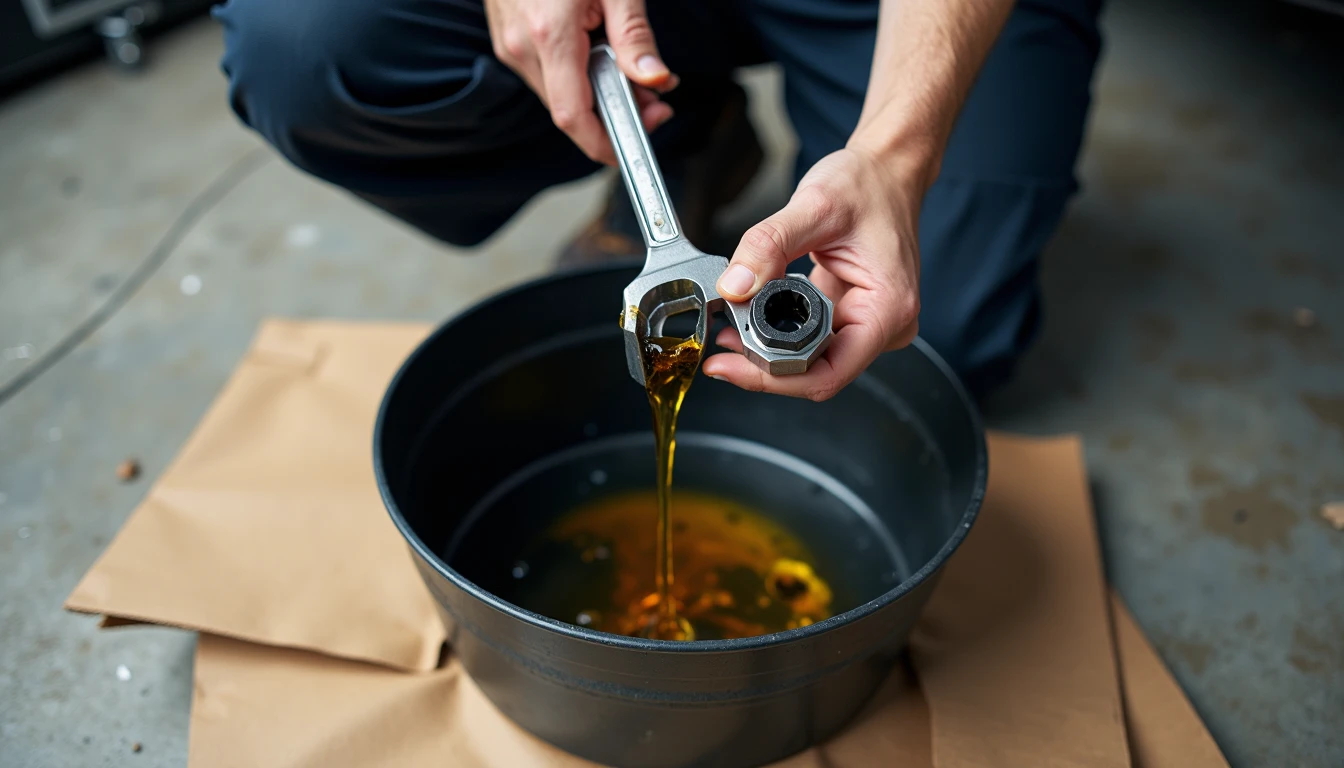
For the drain plug, use a box end wrench to remove it, not a socket and ratchet. You'll get better leverage with a box end wrench and greatly reduce your chances of stripping the hex bolt. See the image below to understand why you want to exert loosening pressure in the same plane as the drain bolt. Locate the oil pan drain plug and use a box-end wrench to loosen it. A box-end wrench is much safer than a socket and ratchet because the angle of attack is in the same plane. That drastically reduces the chance of rounding off the shoulders of the drain bolt.
Slide the box-end wrench over the drain bolt and loosen it with a few light blows from the rubber mallet. That'll save the palms of your hands. Finish loosening the drain bolt with your fingers until you feel the last threads disengage. Oil will start dripping. Then, remove the bolt in one quick motion to avoid taking a bath in oil.
For the filter, you'll need an oil filter wrench, and the type you need depends on the type of oil filter for your vehicle. I like to use the Lisle #63600 Import Car Filter Wrench for my Subaru. Open the jaws and slide the wrench over the bottom of the filter. Then attach a 3/8″ drive extension and ratchet. Loosen the filter. Then spin it off with your fingers.
Common Mistakes
Despite what forums say, you CAN damage your engine during an oil change if you use the wrong tools. The most common error is stripping the drain plug. A socket and ratchet often sit at an angle, applying uneven pressure. When you round off the shoulders of the drain bolt, you turn a ten-minute job into a nightmare requiring an extractor kit or a new oil pan.
Another mistake is buying cheap filters. The filter media needs to handle the flow rate of modern synthetic oils without collapsing. Stick to the name brands listed earlier to ensure the micron rating matches your engine's tolerance. Also, don't forget the API rating. Using an old SA or SB classification oil in a modern engine lacks the necessary detergents to handle emission systems.
Bottom Line
Performing a DIY oil change is efficient and successful when you respect the chemistry and the hardware. Buy the right oil with the latest API SP and ILSAC GF-6 specifications. Purchase a high-quality oil filter from a recognized manufacturer. Use a box-end wrench for the drain plug to protect the bolt heads, and protect your driveway with cardboard. By following these steps, you keep your engine lubricated and prevent wear, saving you money and ensuring your car is running smoothly.