You've probably heard that changing oil is just opening a drain plug and pouring new oil in. Here's what the data actually shows: a proper oil change step-by-step procedure involves understanding not only the mechanical steps but also the chemistry behind your engine's lubrication. If you remember one number from this post, make it the API rating on your oil bottle.
Step 1: Gather the Right Tools and Oil
Before you even lift the hood, you need the correct oil. That means choosing the right viscosity grade (e.g., SAE 5W-30, 0W-20) and the latest API service category (SN Plus or SP for most gasoline engines built after 2010). Check your owner's manual; ignore marketing copy on the bottle. The additive package is what protects against wear, deposits, and sludge. You'll also need a socket wrench, drain pan, oil filter wrench, funnel, and new crush washer for the drain plug.
Step 2: Warm Up the Engine
Cold oil drains slowly because it's thicker. Run the engine for 2–3 minutes to bring it to about 100–120°F. This lowers viscosity and helps suspend contaminants so they drain out with the old oil. Science Corner: viscosity index improvers are polymer chains that expand at high temperature; warming the oil doesn't harm them but does reduce drag so the old oil flows faster. Do not heat the engine to full operating temperature — hot oil can burn you and can cause thermal shock to the filter seal.
Step 3: Drain the Old Oil
Place the drain pan under the plug. Remove the plug with a socket wrench (turn counterclockwise). Let the oil drain completely — at least 10 minutes. While it drains, inspect the plug for metal shavings (a few fine particles are normal; chunks indicate engine wear). Replace the crush washer if deformed. Clean the plug threads and reinstall by hand first, then torque to spec (typically 20–30 ft-lb for most passenger cars). Over-tightening strips the oil pan threads.
Step 4: Replace the Oil Filter
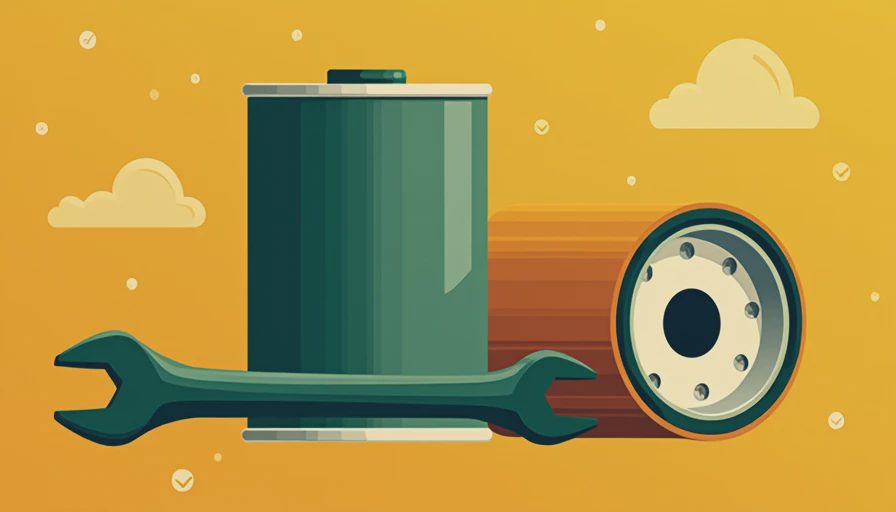
Unscrew the old filter by hand or with a wrench. Make sure the old gasket comes off with the filter — double-check the engine block. Science Corner: the filter housing contains a bypass valve that opens if the filter clogs; cheap filters have a crude bypass that stays open longer, allowing unfiltered oil to circulate. Use a filter that meets your OEM specification (usually shown as a part number on the filter itself). Apply a thin coat of fresh oil to the new filter gasket, then hand-tighten until the gasket contacts the mounting surface, then turn another 3/4 turn. Do not use a wrench to tighten further.
Step 5: Refill with New Oil
Check the oil capacity from your owner's manual (e.g., 5.0 quarts). Pour in about 80% of the stated volume, then wait 30 seconds for the oil to settle into the pan. Check the dipstick — the level should be between the low and high marks. Add the remaining oil in small increments until you reach the full mark. Science Corner: the additive package in fresh oil contains detergents that begin cleaning deposits immediately; don't be alarmed if the first batch comes out darker than expected — that means it's working.

Step 6: Check for Leaks and Dispose
Start the engine and let it idle for 1–2 minutes. Check under the car for leaks at the drain plug and filter. If you see any wetness, shut off and tighten further (but with the filter, remember: hand-tight only). Dispose of the used oil and filter properly — most auto parts stores accept them free of charge. Never pour oil down a drain or into the trash; it's illegal and harmful to groundwater.
Step 7: Record the Mileage
Write down the date, mileage, oil viscosity, API rating, and filter brand in a log. This helps you track intervals and diagnose future issues. Most modern cars have a 7,500–10,000 mile interval with synthetic oil, but if you do severe duty (short trips, towing, extreme dust), consider cutting that in half.
Common Mistakes to Avoid
- Overtightening the oil filter — it can distort the gasket and cause a slow leak.
- Using the wrong viscosity — your engine was designed for a specific range; going thicker doesn't protect better.
- Skipping the filter change — a dirty filter can bypass unfiltered oil even with fresh oil.
- Overfilling — too much oil can cause foaming and pressure damage.
- Not warming up the engine — cold oil drains slowly, leaving behind up to 20% of old, contaminated oil.
Oil Change Step-by-Step: Quick Checklist
If you're about to perform an oil change step-by-step, here's a condensed checklist to run through before you begin. Confirm you have the correct oil viscosity and API rating for your vehicle. Verify the oil filter's part number matches OEM specifications. Ensure you have a new crush washer — reusing an old one is the number one cause of drain plug leaks. Warm the engine to 100–120°F for optimal drainage. After draining, inspect the old oil for discoloration or metal particles — milky oil indicates coolant contamination. When installing the new filter, hand-tighten only and then give it an extra 3/4 turn. Refill slowly, checking the dipstick multiple times; it's easy to overfill. Finally, run the engine and inspect for leaks, then reset your oil life monitor if your car has one. This checklist supports every step in the oil change step-by-step procedure and minimizes errors that could cost you an engine.
This oil change step-by-step approach isn't just about mechanical steps — it's about understanding the chemistry that keeps your engine alive. Read the spec, not the bottle, and you'll make choices that extend engine life far beyond the warranty.




No letters yet — pray write the first.